If you’ve decided to face the new world of Adobe After Effects, then you’re in luck because we’ve established the top tips for mastering Adobe After Effects to make your journey as exciting and fruitful as possible. It may look a little daunting at first, but don’t you worry; after reading this article you’ll be ready to grapple with Adobe After Effects in no time.
Let’s check out the top tips for mastering Adobe After Effects below:

Understanding Projects vs Compositions
This is an important part to grasp. When creating a new file, make sure you save it as soon as you import your footage. This is integral to the process to keep using the auto-saving setting.
Make sure you add it to the right folder and make sure they are all named so you don’t have to trawl through multiple files and folders to locate your saved item. Once you name and save your file this will be known as your “project” – your “project” consists of all your imported footage and compositions.
To create a “composition” (this is the same as a “sequence” in your video editing software) simply select “composition” in the drop-down menu and choose the specs you need to work with.
Importing your elements into your timeline for editing
It’s very straightforward to import your elements into your timeline. All you need to do is click “file” and then select “import”, choose the clips or images you wish to bring into your project, and away you go!
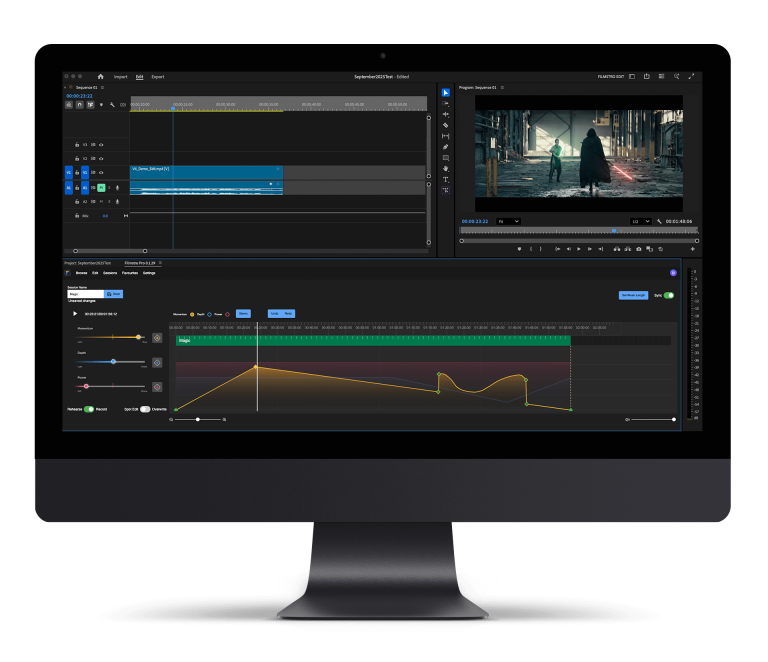
Using the timeline
Understanding the timeline is important to master Adobe After Effects as there are lots of different aspects to it. Firstly select “V” to select the tools button and to use these follow the video below.
This tutorial will help you understand the basics of the timeline in Adobe After Effects.
How to use keyframes
Using keyframes is a regular task when using Adobe After Effects for when you want to change the position or scale value in your timeline. To do this, move the value to where you wish to start and click the “stopwatch” icon. Once that’s clicked, move the playhead again and click the stopwatch and it will add another keyframe.
Keyframes are integral to the VFX process.
Finding the effects and using them
This is one of the easiest tasks for you to complete! All you need to do is open up the effects panel by hitting control + F and now you have access to all the effects and elements you will need!
Adding and using shortcuts
Finally, adding shortcuts will help you out massively in your editing process. After a while, you’ll find you have to repeat certain tasks and sifting through the menus adds up, so by adding shortcuts to tools you’ll use often will save you hours.
The best shortcuts to start with are:
- A – Anchor Point
- P – Position
- S – Scale
- R – Rotation
- T – Opacity
- V – Selection Tool
—-
We hope you enjoyed our top tips for mastering Adobe After Effects, check out our other blogs here and don’t miss out on others by signing up to Filmstro and following us on our Twitter, Facebook and YouTube channel.


