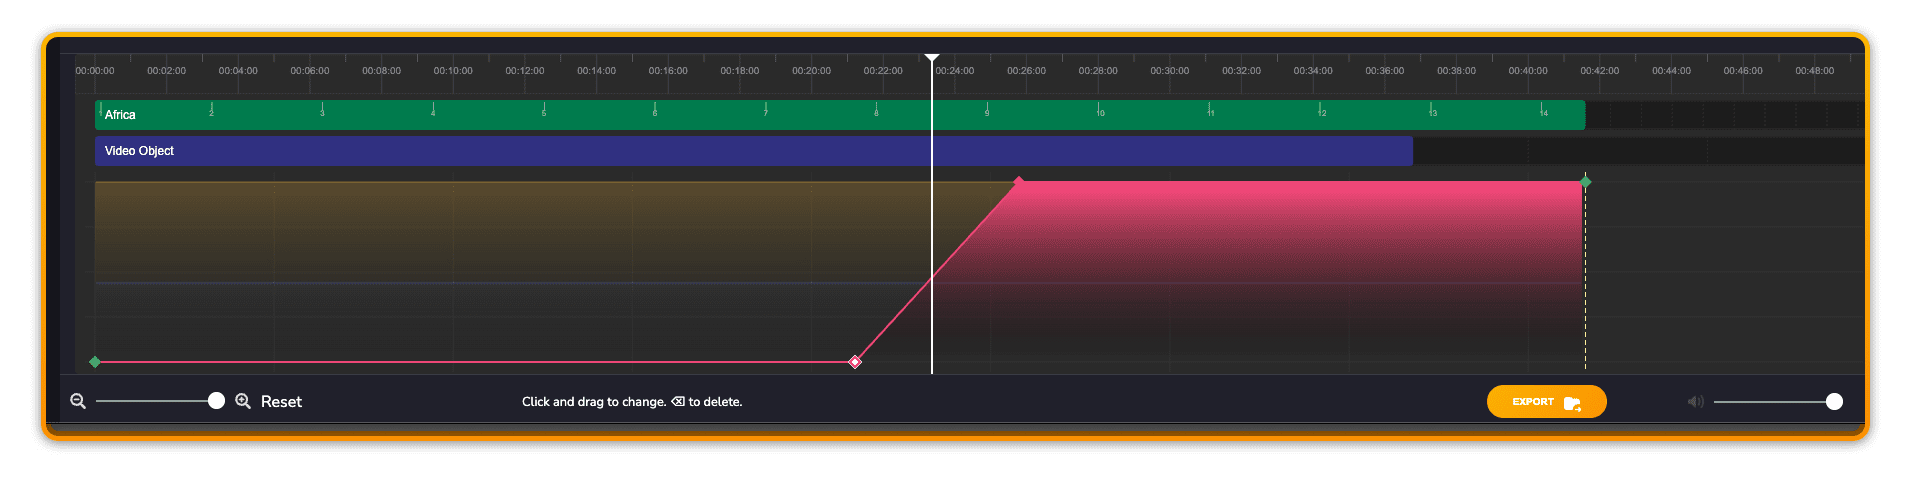
Timeline
The timeline is where you can literally “see” your music come to life. By adding changes in Momentum, Depth and Power – either by adding Keyframes or using the Scoring Sliders – you will intuitively grasp where the music becomes more complex, full-bodied or intense.
Making Selections
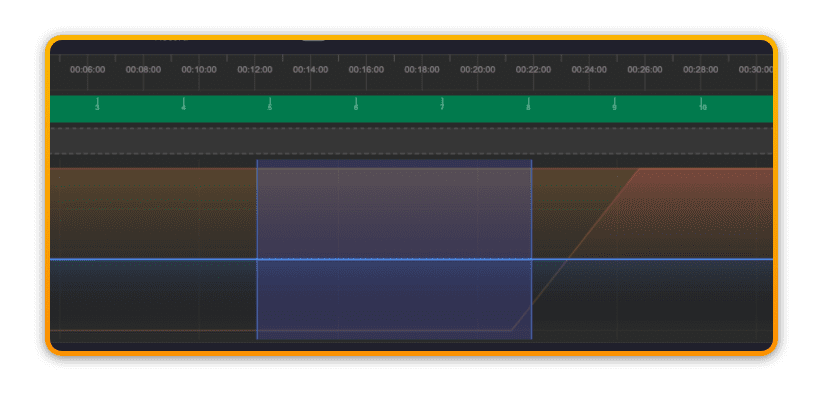
To get the most our of the Scoring Sliders and Keyframes in the timeline will sometimes require you to make a selection.
Use SHIFT + click to highlight an area.
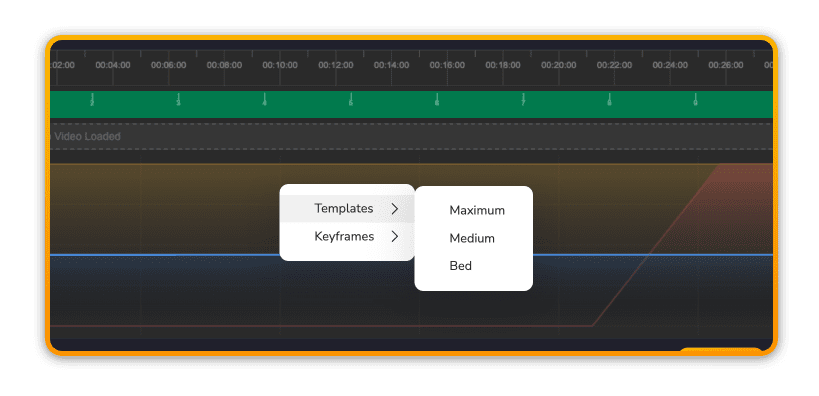
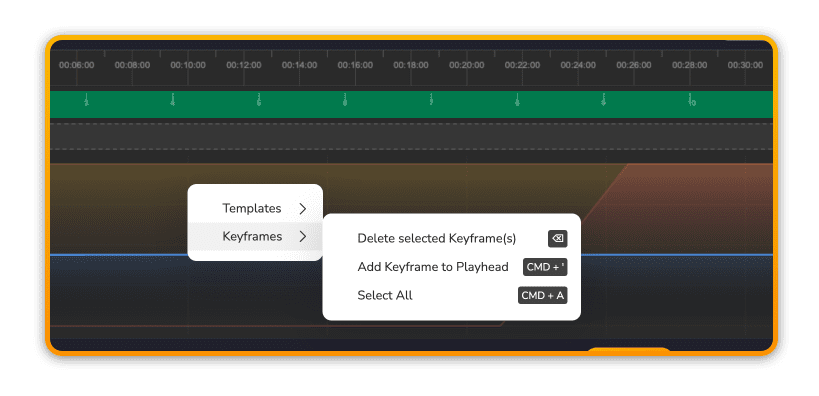
Right-click menus
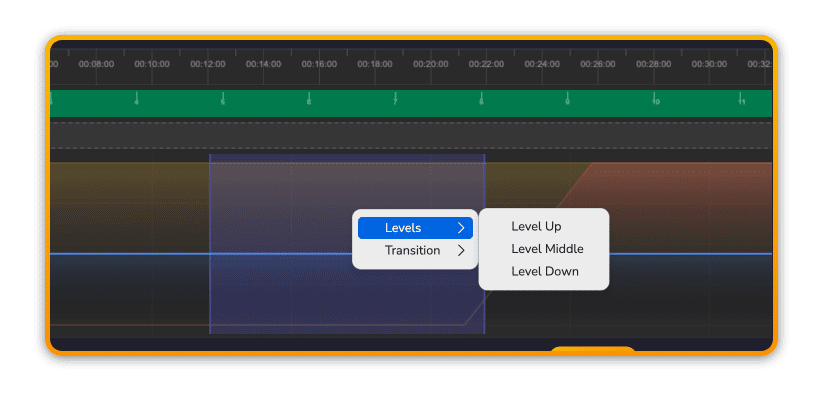
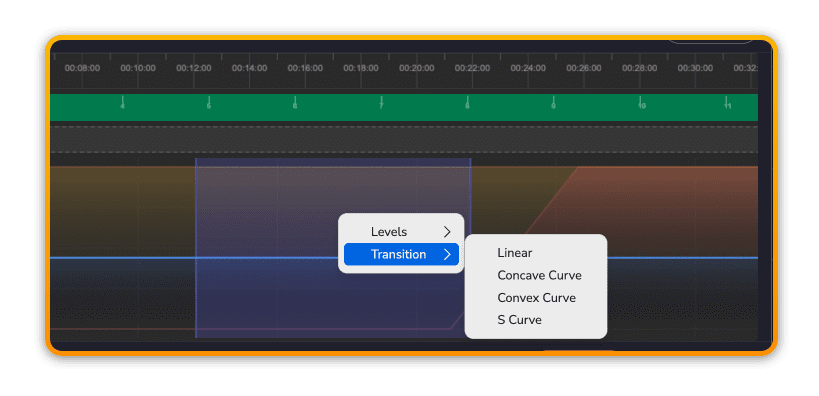
With an active selection in the timeline, you can access a right-click menu that allows you to change Levels and/or add Transitions.
Without an active selection in the timeline, you can access a right-click menu that allows you to add global Templates and remove Keyframes.
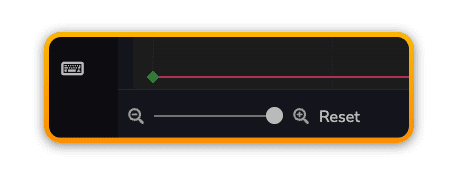
Zoom & Music Volume
Below the timeline is the zoom control. You can use the zoom slider to change the zoom level or use CMD+scroll (mouse or trackpad) to zoom in horizontally on the timeline.
The music volume changes the preview volume of the music in the App.
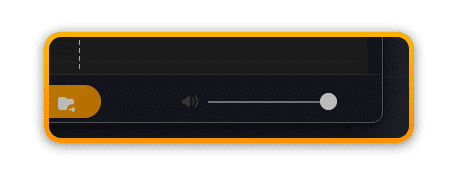
?The volume level is not included in the final export – which is always at full volume.
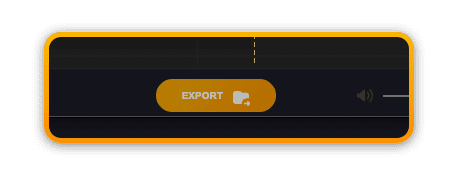
Saving and Exporting
The save button creates a permanent record of your Session in your Filmstro Account. Once all changes have been saved, the Export button becomes available which will render out your custom soundtrack.
?The only edit that affects the entire timeline is creating a custom length for the music.