Edit Interface
The edit interface consists of 4 main areas.
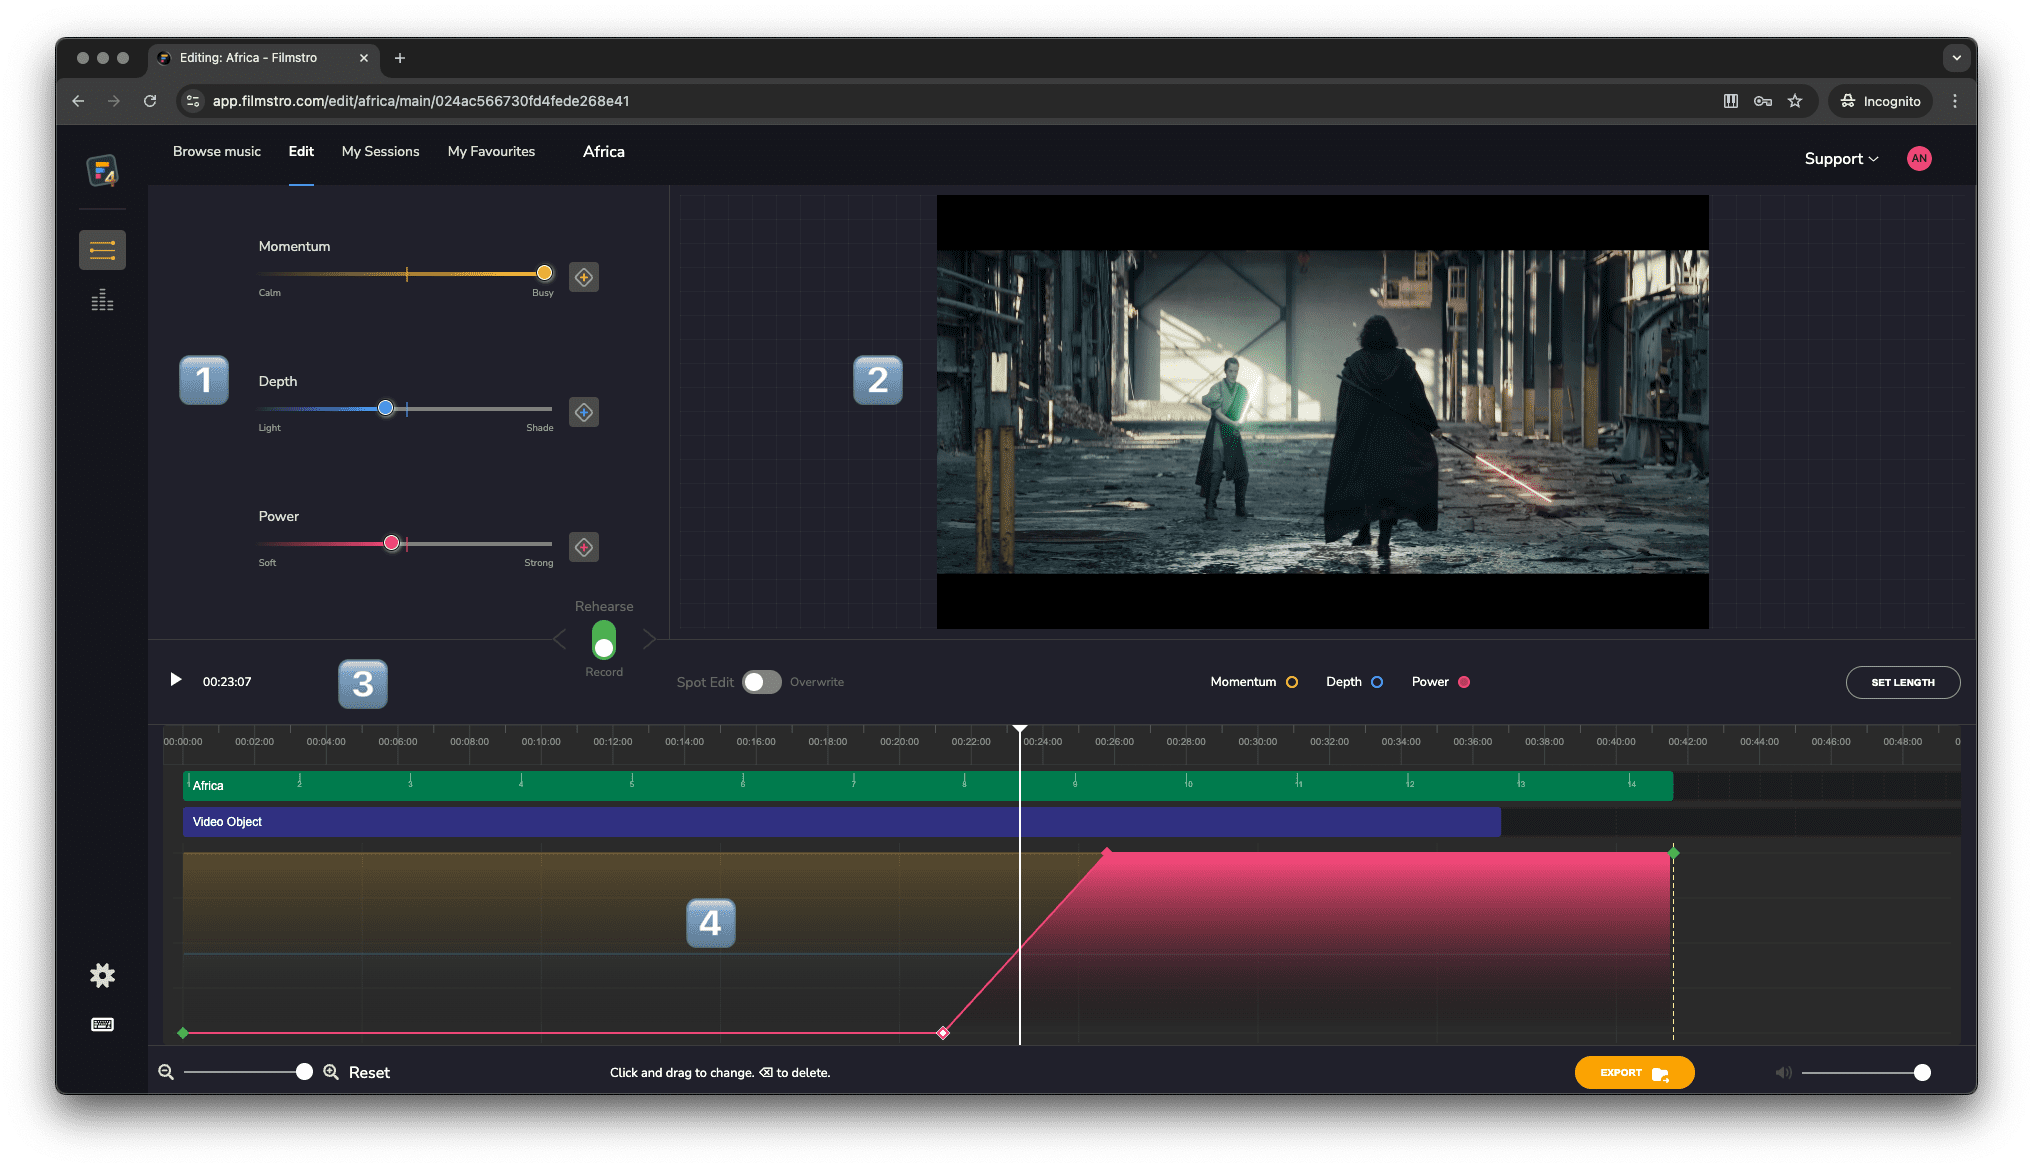
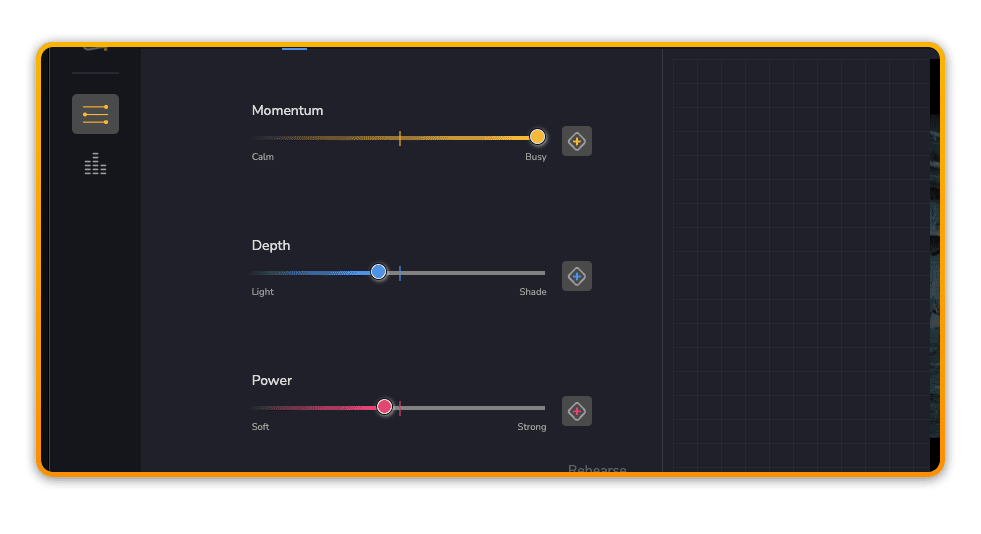
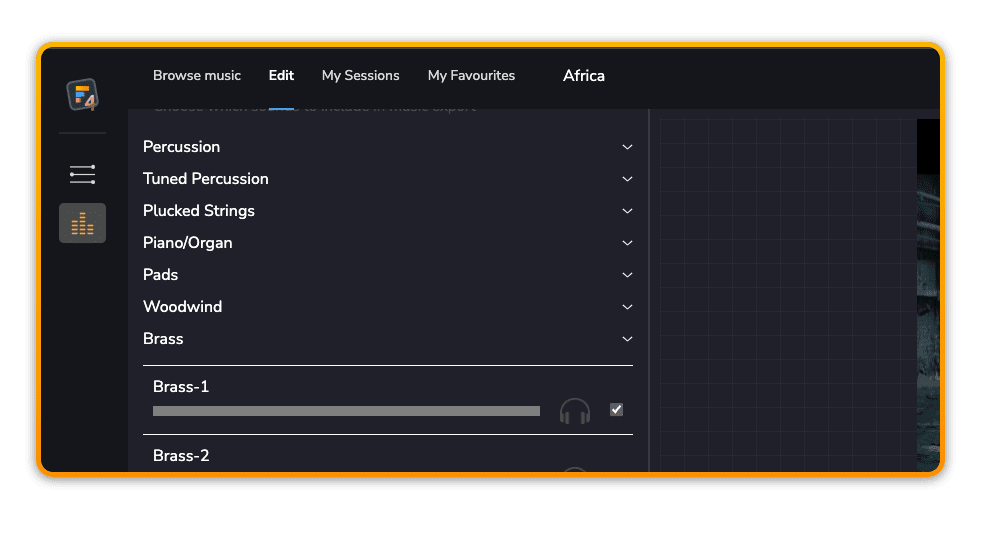
1️⃣ Slider/Stem control
The top left area contains the Scoring sliders and the Stem Control which you can switch between by using their respective icons in the side bar.
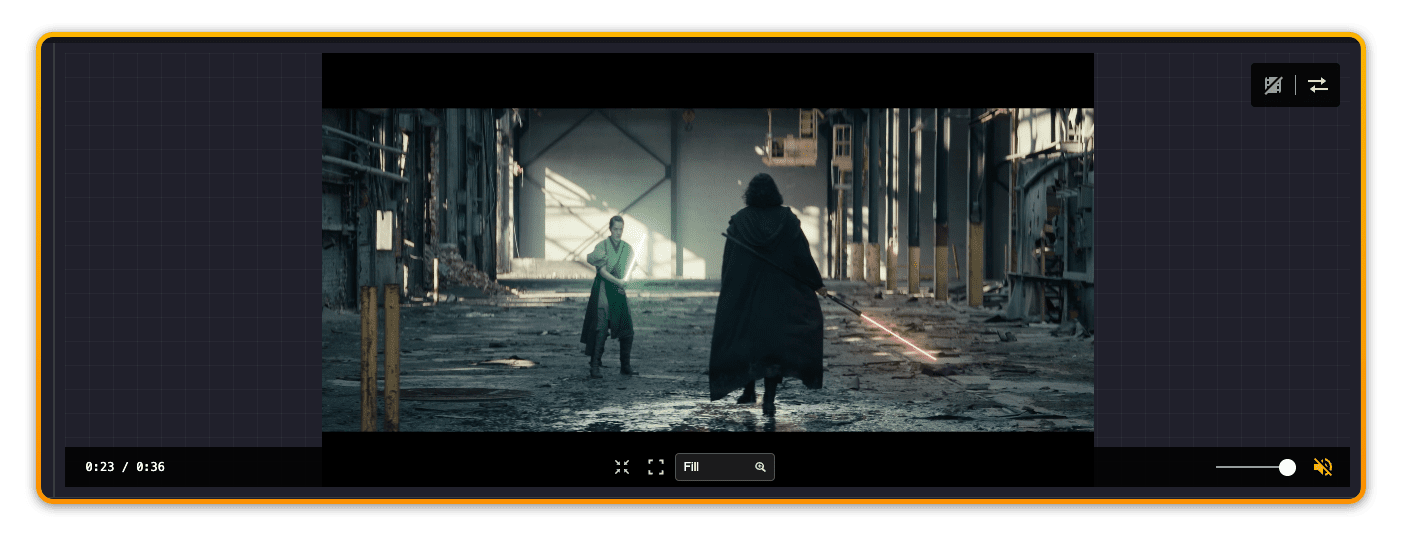
2️⃣ Video
The majority of the space above the timeline is for your Video edit. Once you load a video, hover over it to control its display size, adjust the volume and mute/un-mute it.
3️⃣ Transport
The main Transport contains the play/pause button, the SMPTE time display, a toggle for Rehearse/Record, a toggle for Spot Edit/Overwrite, and radio buttons for Momentum, Depth & Power.
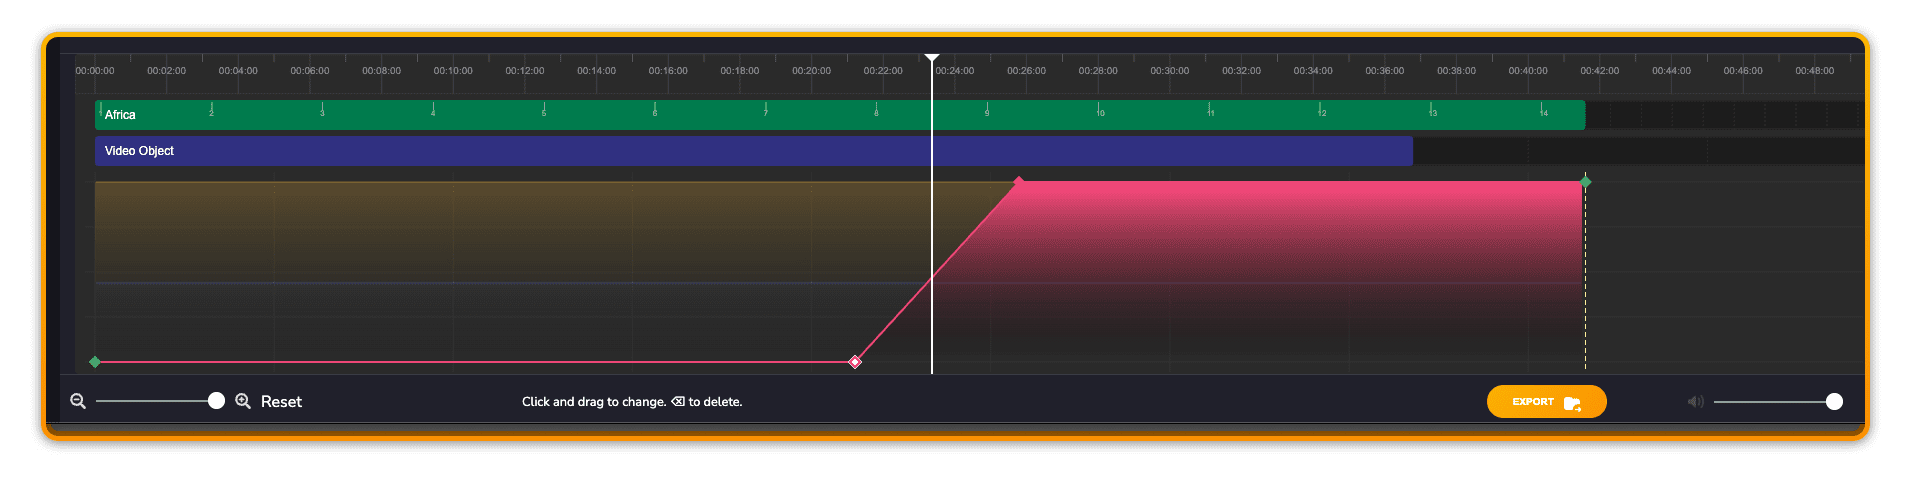
4️⃣ Timeline
The Timeline contains the timeline indicator along with the video object (if a video is added) and the music object, which is the track you’ve chosen to edit. The main area below that contains the visual representation of the current settings for Momentum, Depth and Power. This will update as you make changes to the music.
Below the timeline are controls for Zooming into the timeline horizontally. Here you will also find the main music volume and the Save/Export buttons.
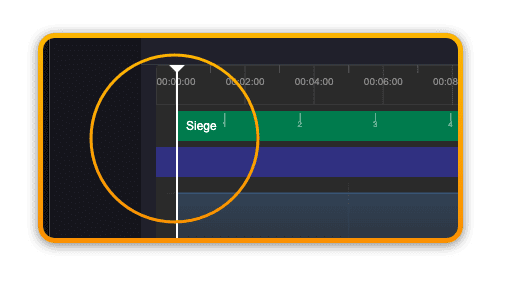
⚠️ Video Offset
You can change the position of the Video in relation to the music by either off-setting it to the left or right. This results in the music either starting before your video edit, or at a later point in your video edit.
?Playback is currently linked to the music and therefore stops at the end of the music – not the video. So if your video continues beyond the end of the music’s length you will not be able to view/hear it.
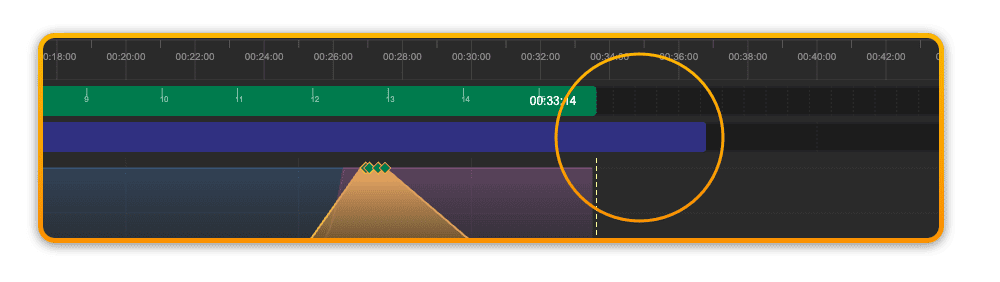
Similarly, when you offset the video to the far left (outside of the visible timeline) you are currently not able to view/hear this portion of the video.