
Stabilise footage using FCPX:
Final cut pro x is an incredible video editing platform on which you can edit cinema-grade films. The depth of this piece of software is unbelievable. It allows you to colour grade at the highest level – enabling you to create cinematic masterpieces.
One of the common issues we are asked about is how to stabilise video footage. It’s imperative to have smooth transitions and camera movement (unless shaky footage is needed) to keep the audience engaged.
In this article, we focus on how to stabilise your video footage using FCPX.
Let’s dive into it.
How to stabilise footage in Final Cut Pro X
One of the best methods to stabilise your footage smoothly and efficiently is to make sure the original footage is as smooth and steady as you can shoot.
This helps the stabilisation to work in an efficient manner and output quality footage.
InertiaCam
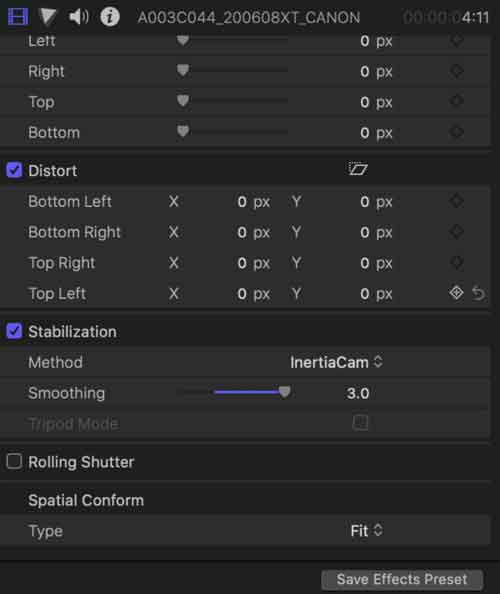
InertiaCam is an automated process built into Final Cut Pro X and allows it to work with footage that has pans, zooms, and tilts.
You’ll need to adjust the settings in the menu shown above to ensure it’s suited to your footage. The InertiaCam will then analyse your footage and implement the changes to give you a smooth finish.
SmoothCam
SmoothCam takes an X, Y, Z-axis approach to image stabilization that works within a 3D environment. It uses rotation, translation, and scale to ensure your footage is stabilised to the utmost quality.
Automatic
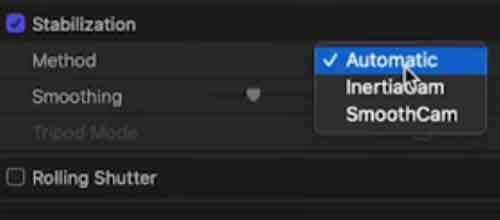
This is the standard feature in Final Cut Pro X. It works well for pretty steady, average footage. It does the job, but you may want to use one of the above techniques to ensure you get the best out of your footage.
However, if you choose automatic Final Cut Pro X, you will analyse your footage and put that footage through either SmoothCam or InertiaCam, depending on which one will suit your footage best.
Overall, to get the smoothest finish, ensure your camera is set up well and you shoot as steady as possible. You can then run the stabilisation software on top to ensure your footage is as smooth and sharp as you want.
—-
We hope you enjoyed this article and don’t miss out on any of our other blogs! Sign up to Filmstro and follow us on Twitter, Facebook and subscribe to our Youtube channel.


