Here are some of our top tips for filmmakers using DaVinci Resolve…
DaVinci Resolve is a great alternative to Adobe Premiere Pro and is completely free! DaVinci Resolve is extremely high quality and the program is very versatile. It is a great editing program if you are getting started in filmmaking, want to have all the tools but don’t want to spend a huge amount on editing software.
If you’re new to DaVinci Resolve this article will help you get to grips with the basics and offer you an overall understanding of all things DaVinci Resolve. In today’s article, we will look at some top tips and tricks to get you started, giving you the grounding needed to become a great editor.
Project Settings
These are really important to nail and get correct at the start in order to make sure you have it all set up and optimised in the right format to allow DaVinci Resolve to work at an efficient rate. Settings to double check and ensure are set up properly are:
- Video format
- Timeline resolution
- Timeline frame rate
Make sure these are all set to the optimum levels to ensure your program runs smoothly. Having these settings at the highest level prevents issues like your computer frequently over heating or crashing when using lots of clips at one time.
Shortcuts
Ensure you have all the right shortcuts set up, this will help you edit a lot quicker and save you hours in the long run. Let’s face it, there are a lot of repetitive tasks whilst editing, so going back and forth through menus can take up far too much time. To combat this, simply set up shortcuts for your most used actions.
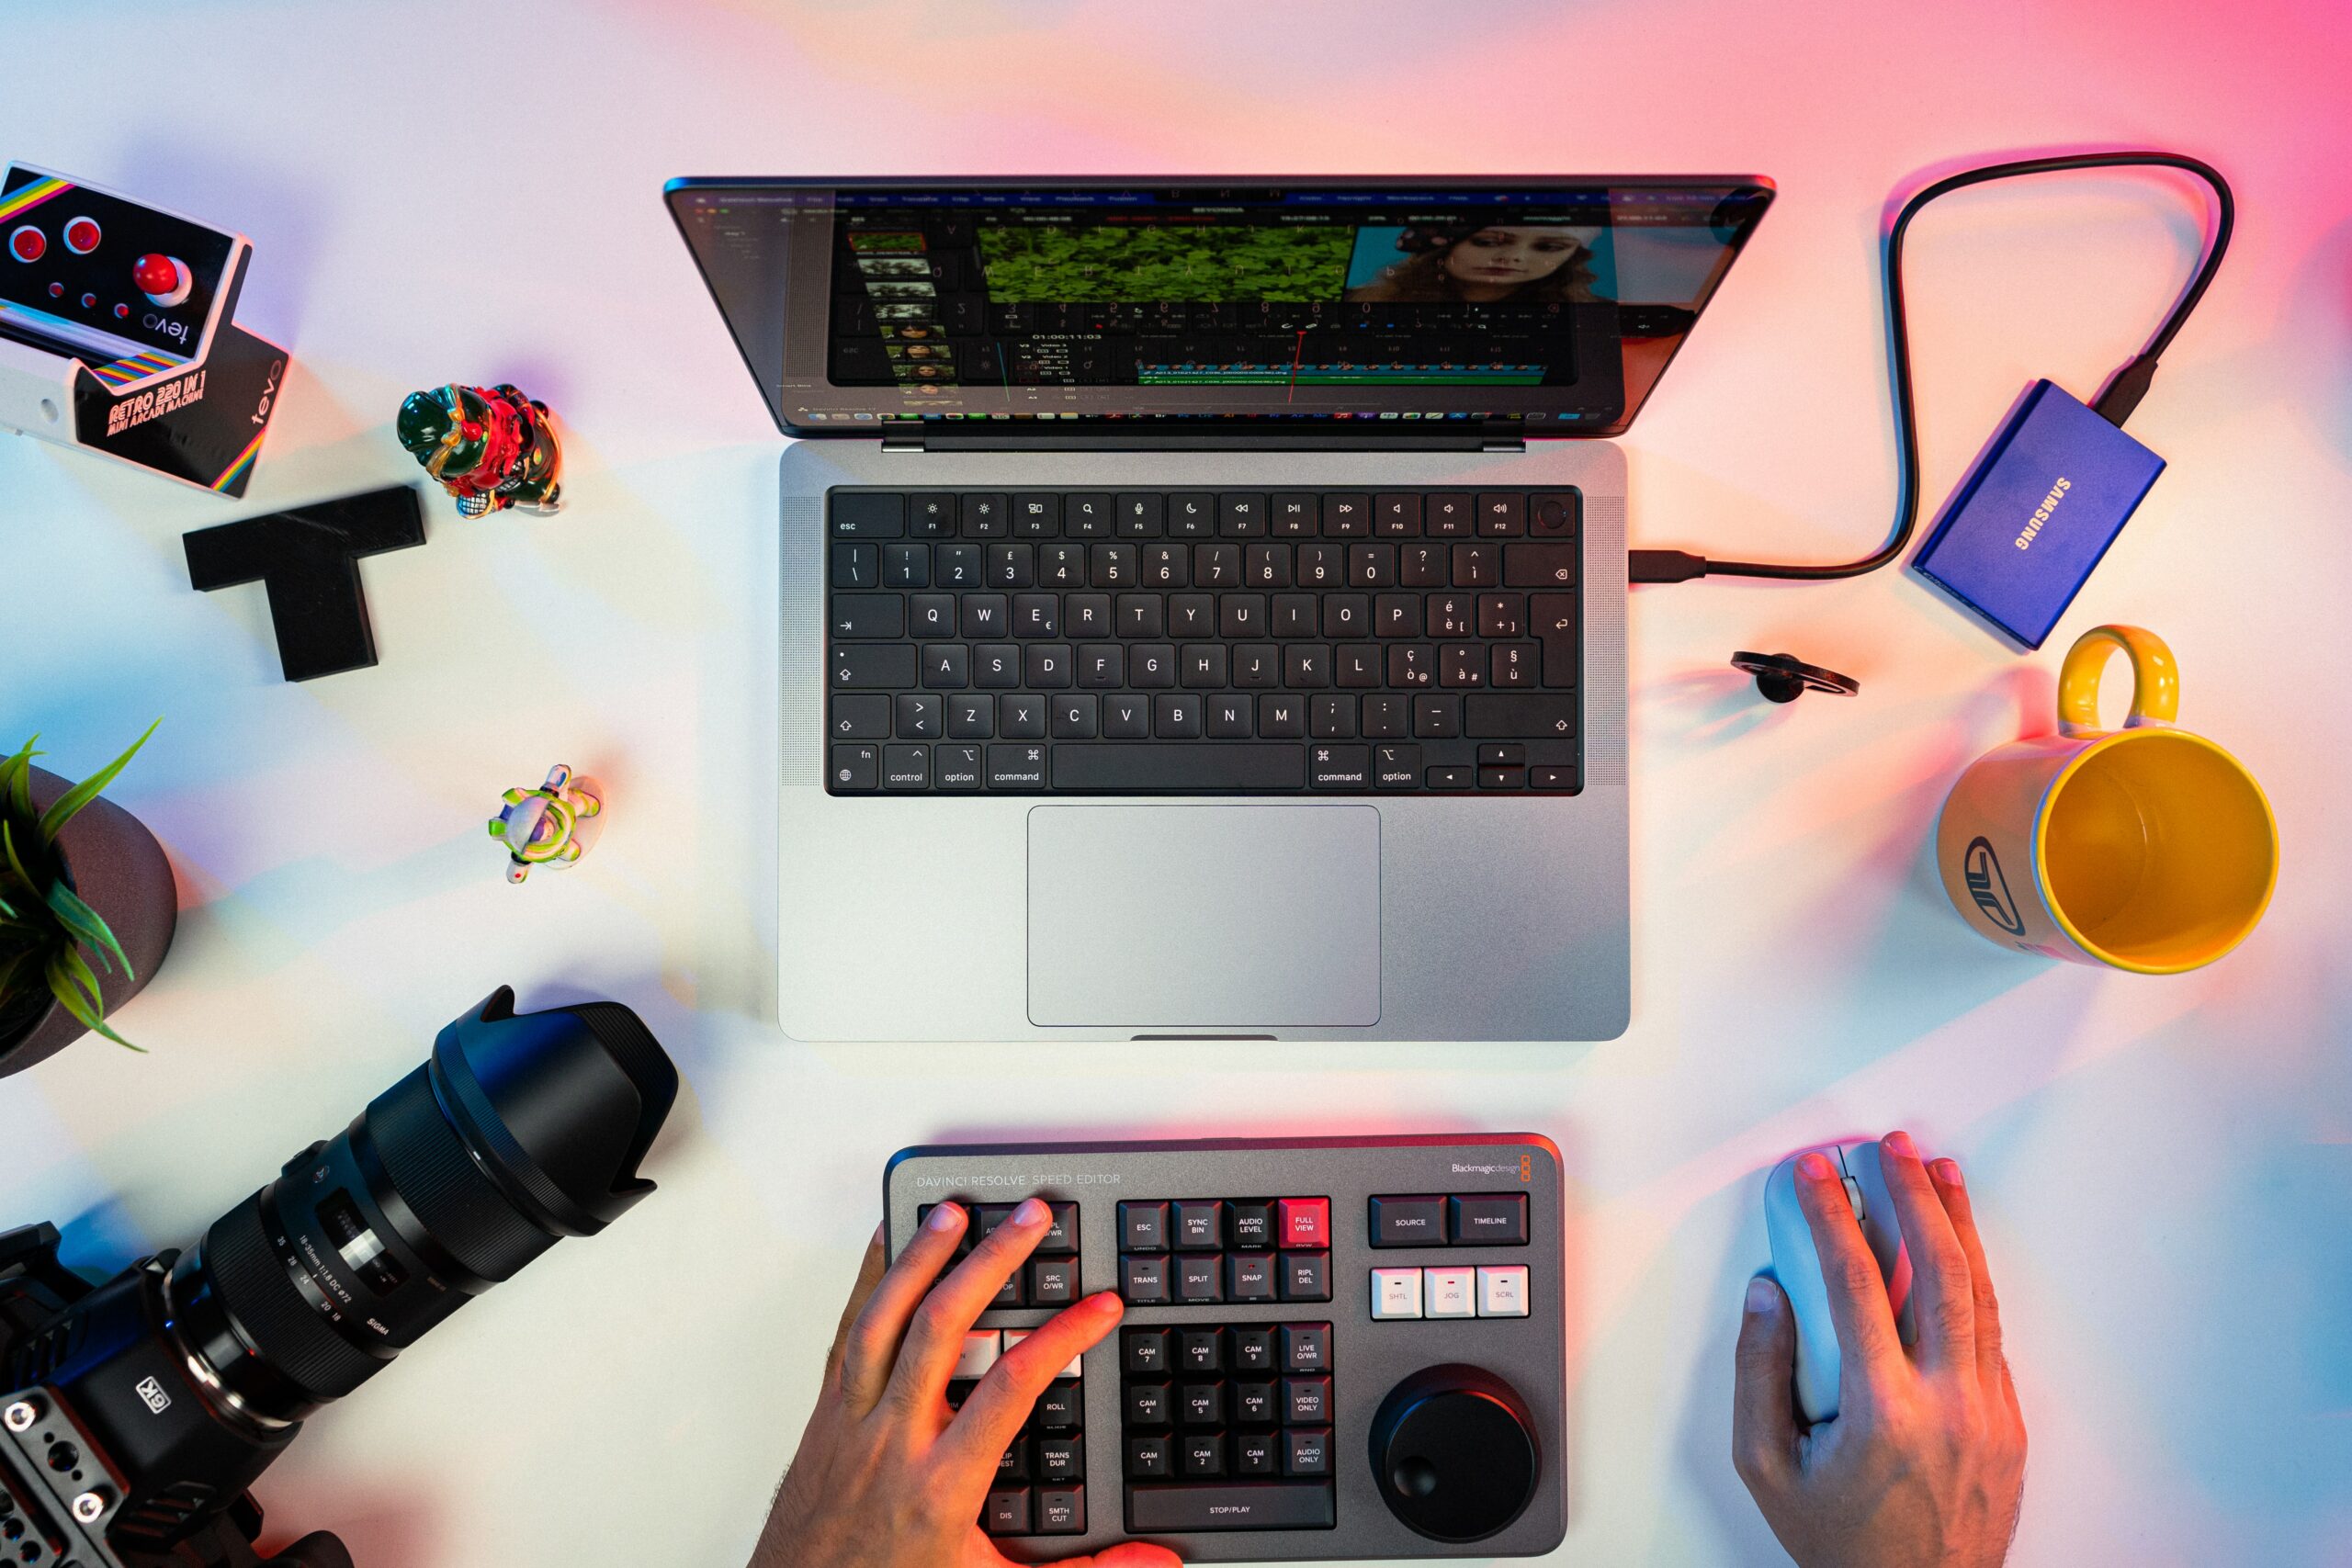
DaVinci Resolve gives you the option to remap your keyboard to allow you to have all the correct shortcuts in one place. Simply select “Keyboard Remapping” and you will be able to add and remove all your favourite shortcuts to speed up the editing process!
Using a Proxy
In our previous Adobe Premiere Pro article, we showed you how to set up a proxy to speed up the editing process. Similarly, DaVinci Resolve has a similar setup. It temporarily reduces the resolution for playback etc. but doesn’t affect your full file. This is to help the computer process this, in a way it will find manageable and therefore not freeze every time you use the playback button.
To set it to Proxy mode, go to the “Playback menu” where it will offer you two different options: “Half Resolution” and “Quarter Resolution”. We recommend selecting “Quarter Resolution” as it will reduce the memory and processor speed by a huge amount, allowing you to preview clips as you’re clipping them and makes the whole editing and post production process a lot quicker and smoother.
Optimised media
Similarly, in DaVinci’s menu you can select the option to optimise your media. This will allow even more time saving as it plays at a reduced rate allowing the computer to process this much faster. We definitely recommend this setting with the “Quarter Resolution” setting to ensure speed and efficiency.
Check out all our other articles regarding video editing here.
—-
We hope you enjoyed this article, don’t miss out on many more and sign up to Filmstro and follow us on our Twitter, Facebook and YouTube channels.


