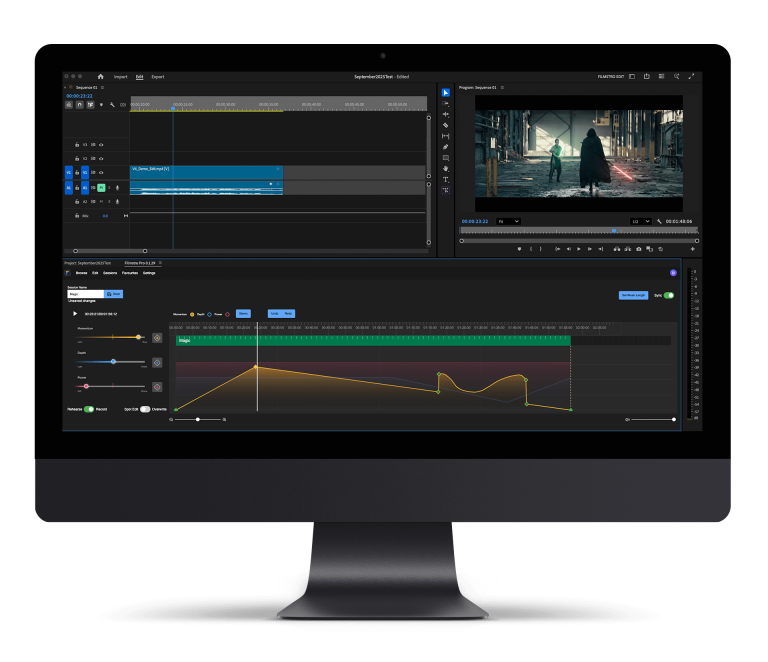
Time remapping (when done correctly) looks great and adds a fantastic element to your video and the best part of it is that it’s actually quite simple to do. Check out the video below to learn how to achieve some amazing speed ramp effects using time remapping in Premiere Pro.
Let’s clarify some semantics of time remapping/speed ramping:
What is Speed?
Speed is the rate at which your clip plays back and this is often shown in percentages. If you increase the percentage over 100% the clip will play back faster (e.g. 200% will be twice as fast as the clips normal speed)
What is Duration?
Duration is the measure of time from the start point to the end point. Whilst speed refers to the rate of playback, duration only refers to the length of time your clip takes on the timeline. Adjusting a clip’s duration doesn’t necessarily mean that it’s speed has been adjusted.
What is time remapping?
Time remapping (or speed ramping) is the craft of speeding up or slowing down your shots for the purpose of dramatic/creative effect.
Put simply, time remapping is the art of slowing down and speeding up your footage in order to produce dramatic and creative effects.
What shutter speed/angle should you record in?
If you’re going to be slowing your clip down, make sure that your clip is a minimum of 60fps and recorded with a high shutter speed. The high frame rate captures more image information per second than your standard 24,25 or 30fps, so when you slow the image down it doesn’t start jittering, jumping or looking weird. The high shutter speed (1/198 etc or a narrow shutter angle = 45 degrees) will help reduce motion blur and reduce an ugly jitter or jumpy look when slowed down.
How do you do time remapping in Premiere Pro?
Step 1: Right click your clip in the timeline
Step 2: Select: Show Clip Keyframes > Time Remapping > Speed. This will add a “rubber band” to your clip
Step 3: Go to the frame on your clip where you’d like to create a keyframe and holding down CMD, click on the clip line to create a keyframe. Create all the keyframes that you want along your clip, segmenting sections of your clip that you want to slow down or speed up.
Step 4: In order to change the speed of your segments, you can drag the line on your clip that will either increase or decrease the speed of your segment within that clip (depending on which direction you drag the line). The speed is shown in percentages.
Step 5: In order to smooth out your time remapping, you can select the keyframe created on your clip and drag the keyframe marker to the left or right. This will reveal a nice ramp.
Step 6: If you select the keyframe marker again, it will reveal some handles that you can drag to give your ramp a nice S-styled curve.
If you’re still struggling to achieve this effect after reading these steps, you can check out our video above.
Don’t forget to like us on Facebook and Twitter and share your awesome time remapping videos with us!


