Whether you are a full-time video editor or just starting out, you will always be looking to speed up the post-production stage through Premiere Pro or something as simple as the workflow process. Today we will discuss how to optimise Premiere Pro and edit quicker with a streamlined post-production process.
Below are our top tips for optimising Adobe Premiere Pro and improving your post-production workflow.
Adjusting your playback zoom level
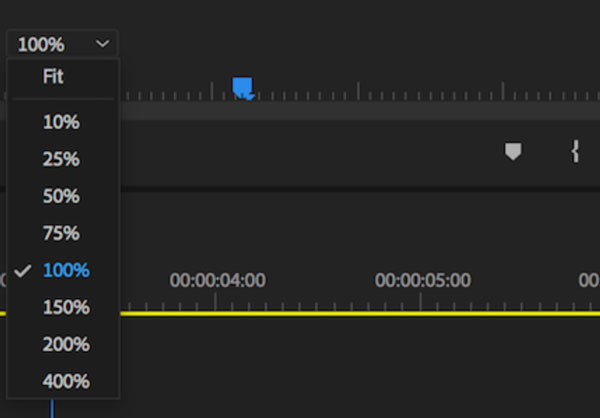
Adobe Premiere Pro offers you a multitude of zoom levels and playback functionality, however, this can restrict the performance of Premiere Pro due to the amount of memory it consumes, ultimately slowing the program down.
We recommend reducing the zoom level down if you’re working on a larger monitor and reducing the playback resolution, this is key. By reducing the playback resolution, even if you’re working on a 4K clip, reduces the playback quality and not the actual clip quality. This will, in turn, reduce the memory and power needed to playback the clip resulting in Premiere Pro processing and working a lot faster.
Always use proxies
Proxies are a brilliant way to optimise Premiere Pro. Proxies are, simply put, different files for the edit and the render.
So for example, if you have shot your film in high res functionality (like 4K), you would then edit the clips in reduced quality to allow your computer to process them quicker, if at all. This is great for indie filmmakers on a budget who don’t have supercomputers to hand.
To create a proxy, right-click on your project browser and choose Proxy > Create Proxies.
From the create proxies menu, you can then select your file format – once you’ve selected the format click OK, this will then bring up the media encoder and this will render all of your selected clips into your easy to edit proxy files.
Set In and Out points
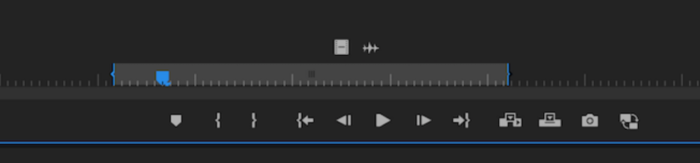
You can set these on your source monitor, this will allow Premiere Pro to know when your clips start and when they finish – no footage is removed or deleted, it just allows you to watch the bit you need to without any scrubbing or editing.
To view the source monitor you can double click on your clip in the browser, this will then pop up as a larger screen. To access the in an out points, scroll through the clip briefly and mark the in point with the “I” on your keyboard and scrub through to where you want to finish and click “O”. Once these clips have been marked in and out you’ll see a little timeline appear, this shows where you’ve marked your clips. You can now re-adjust the points to suit when you playback the clip.
We hope you enjoyed our blog on how to optimise Premiere Pro, check out our other blogs here and don’t miss out on others by signing up to Filmstro and following us on our Twitter, Facebook and YouTube channel.


