Four quick tips to improve your sound on a budget
Sound. There’s no escaping it. You can get away with shaky visuals, with cheap cameras and rudimentary equipment, but poor quality sound will sink a project.
We recently looked at what aspiring filmmakers can learn from Sean Baker’s Tangerine. Baker might have shot his film on an iPhone, but he knew the value of quality audio.
“Audiences can accept different things visually” he said, “but they can’t accept poor quality when it comes to audio. You need to take your audio very seriously.”
Baker did just that. He employed sound engineer Irin Strauss who used a Sound Devices 664 mixer-recorder, a Lectrosonics SMV wireless system for his transmitters and Sanken COS-11D lavaliers. For capture he used a Schoeps CMIT5U shotgun microphone and, occasionally, a T-powered Schoeps CMC 4U.
That’s a lot of kit! So what’s a budget filmmaker to do? How do you go about capturing good sound without that kind of equipment? I’m glad you asked.
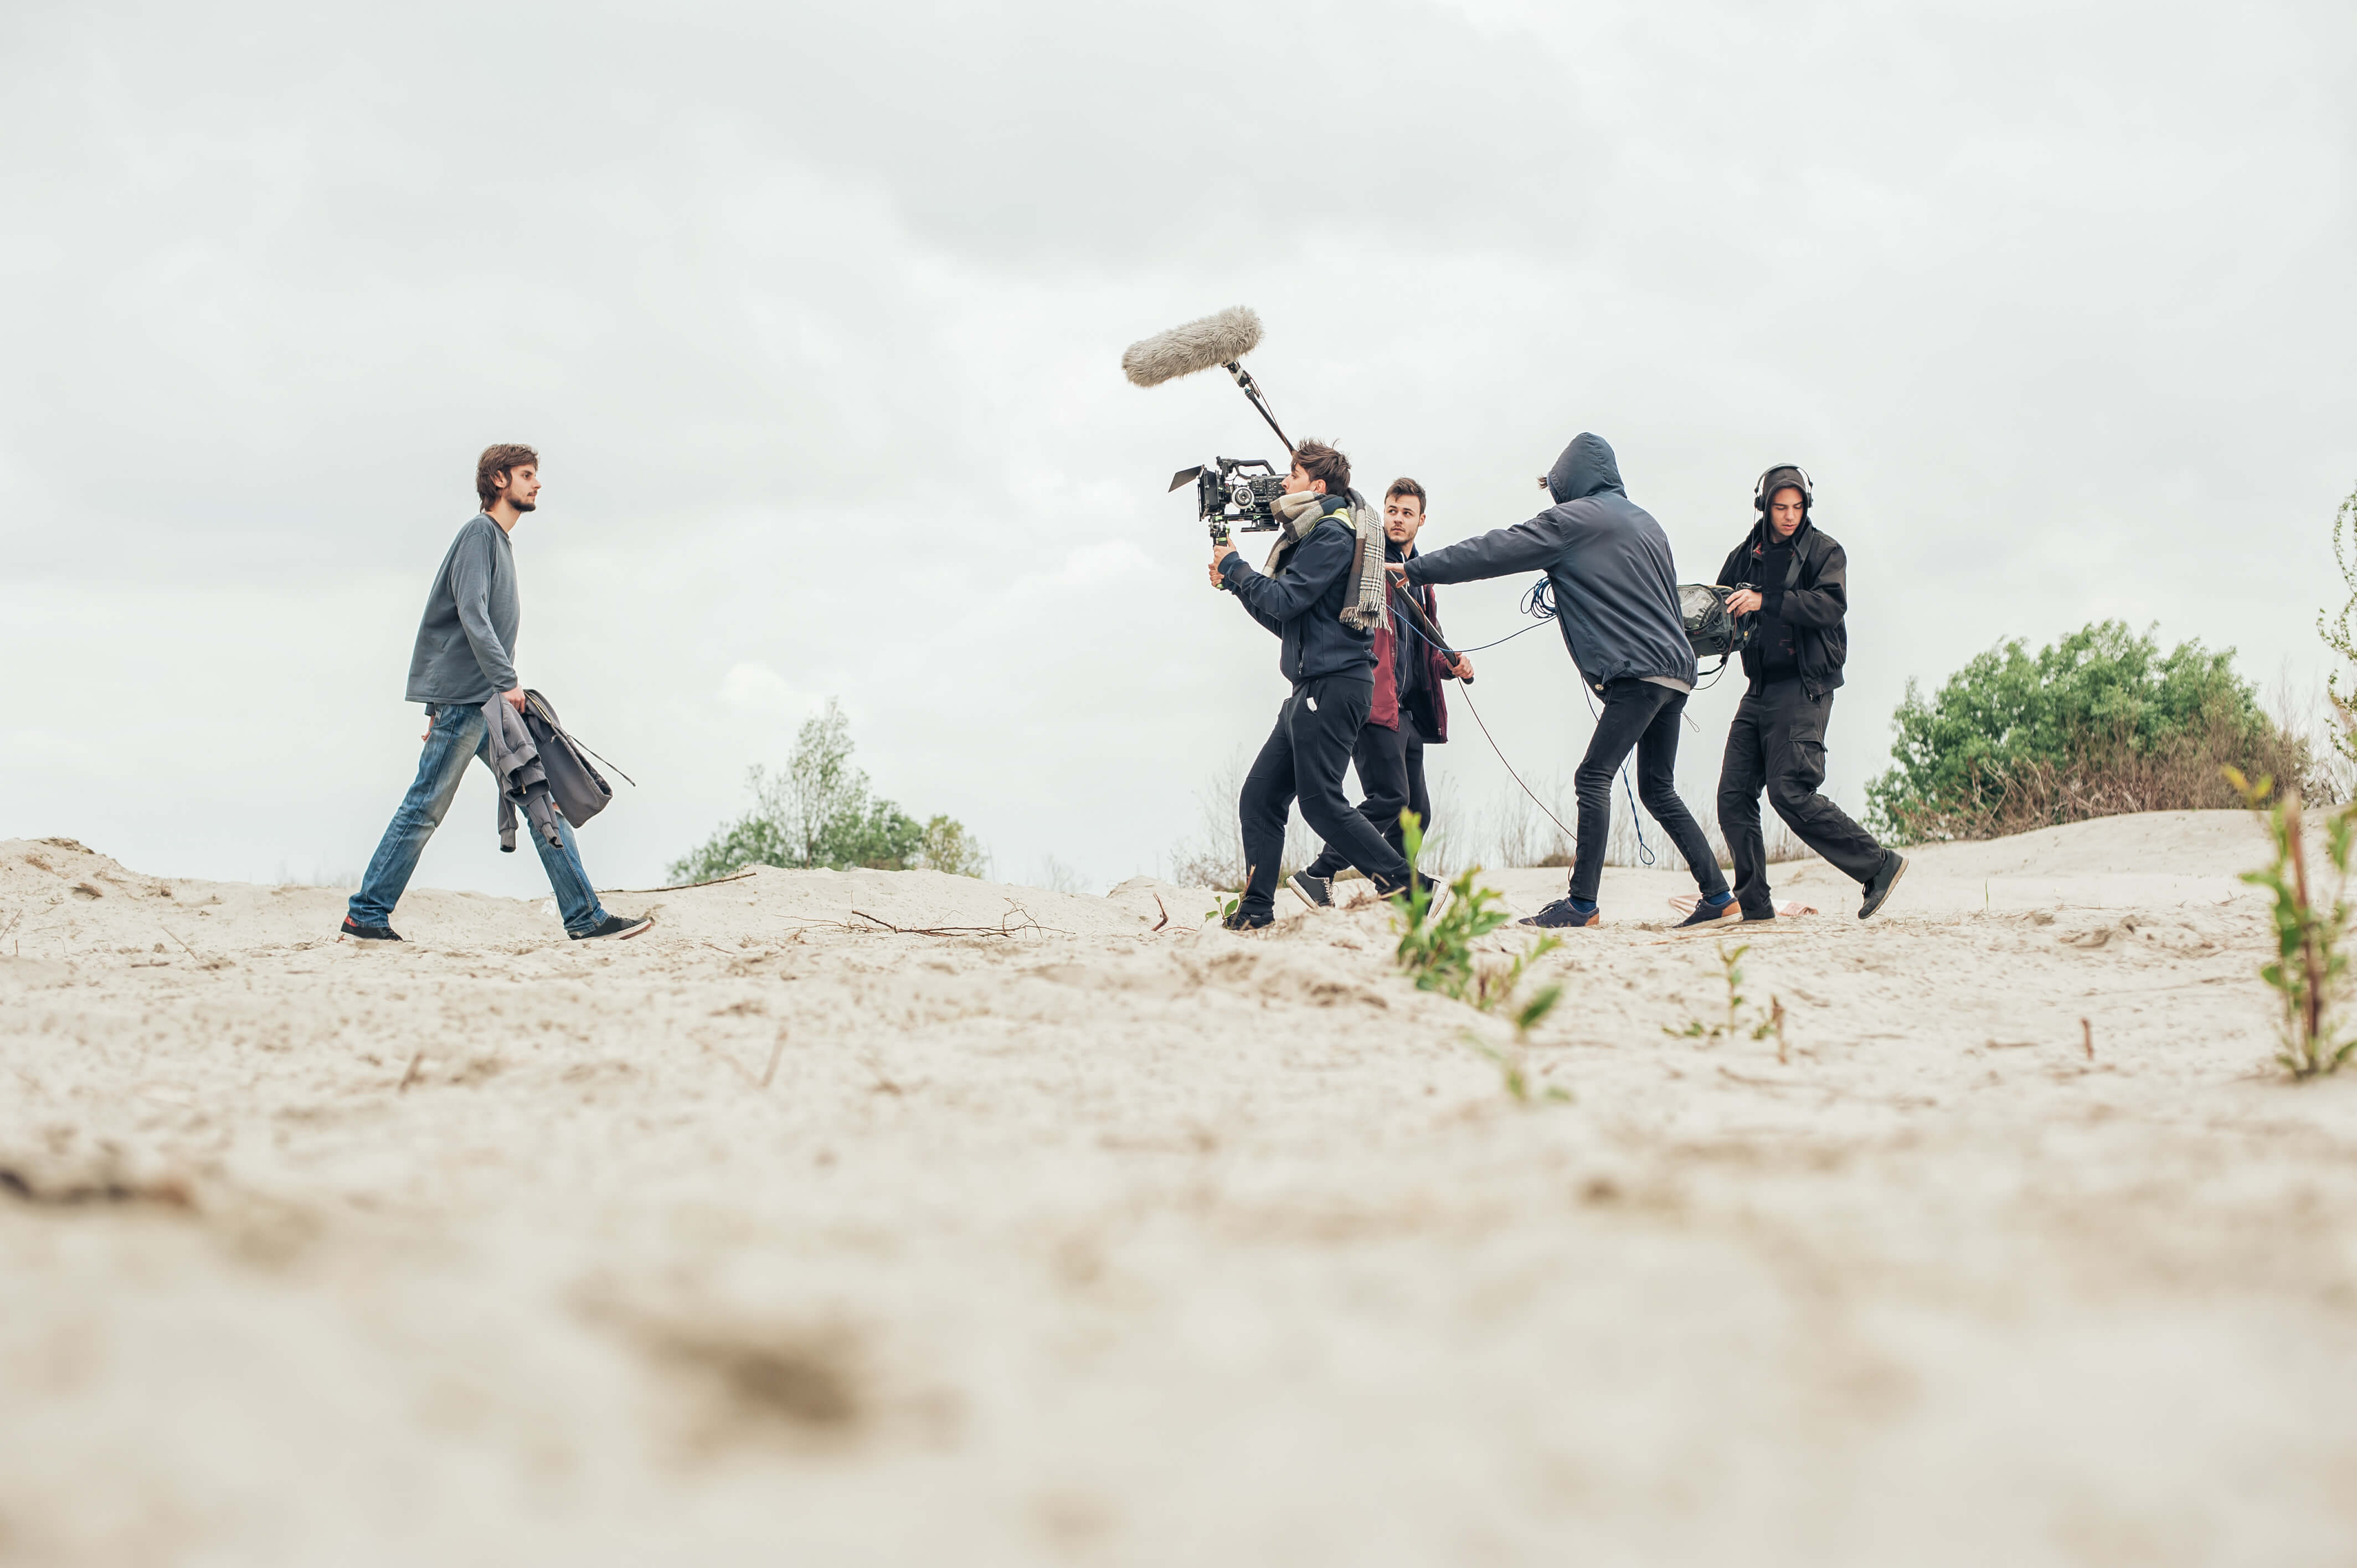
Proximity. Rule number one. However terrible your microphone is, get it as close to your subject as you can. The further away your mic is the longer the sound takes to reach it, giving you an ‘empty room’ effect. It should be just out of shot. Simple.

Separate audio recorder. I know what you’re thinking, I can plug a mic into my DSLR or my phone. Why do I need a seperate recorder? Because if you do that, even a great mic will be pointing in the same direction as the camera, recording from the same distance. Remember rule number one. We need the mic as close as possible to the subject, and you can’t do that if it’s always stuck on your camera.
At around $200 the Tascam DR-40 is a great choice, but if it’s out of your price range you can turn your iPhone into an audio recorder with a combination of a Rode iXY Recording Microphone and the associated app.

Even with a seperate recorder don’t forget to record audio from the camera! It may seem counterintuitive, but this scratch-track can be used to sync up your audio and video. If you don’t know how to do that, don’t worry, we’ll cover it in a future blog.
Scout Locations for Audio. It’s so easy to forget during your pre-production schedule, but remember to listen for potential audio problems at your locations. Be aware of flight paths, roads, and background noise like air conditioning or nature sounds. Remember, the audio profile of a location can change dramatically over time. A road might be quiet at 2pm and noisy at 5pm; a forest may be very noisy early in the morning and very quiet around noon.

Be aware of your levels. Sound is a high-wire balancing act between volume and distortion. You need as much volume as possible without any distortion. The optimal level to aim for is around -12dB, and distortion usually starts around 0dB. This will vary with different sounds, so make sure to pay attention!
There you have it, four quick tips to improve your sound. If we’ve inspired you to dig deeper, we recommend this excellent video on sound design by LightsFilmSchool and as ever for more insight into the world of small-scale filmmaking, you’re already in the right place, at the Filmstro Blog.


